Western Coast of Africa: Benin & Togo
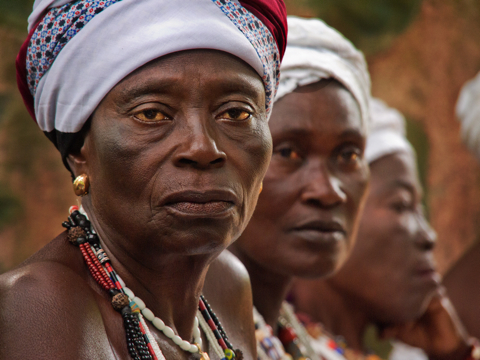
Voodoo ladies in Benin
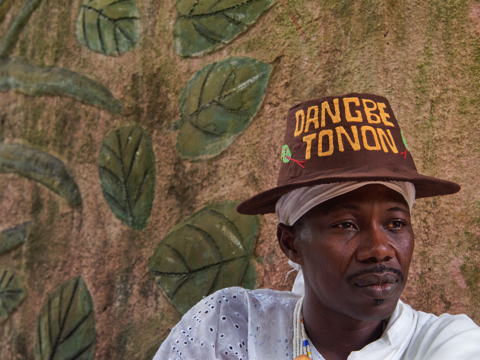
Voodoo priest in Benin
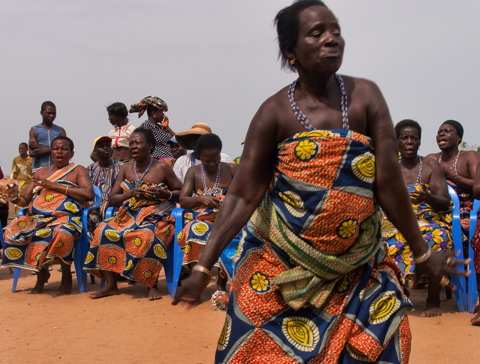
Dancers at port in Ganvie, Benin
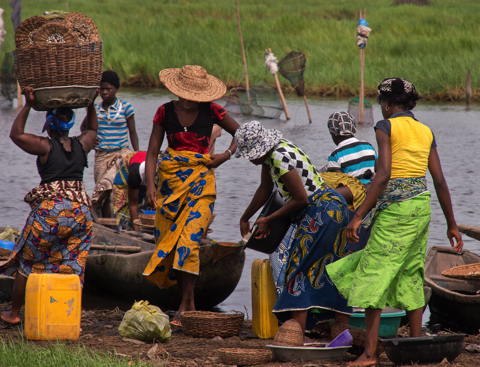
Woman in fish market at port of Ganvie, Benin
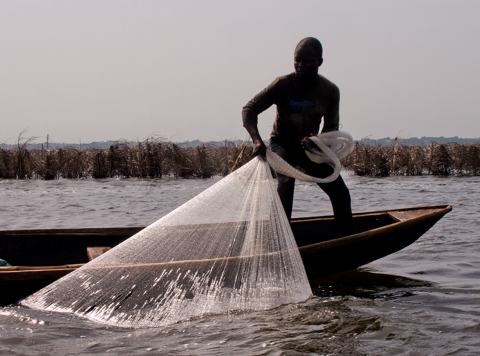
Ganvie, Benin fisherman pulling in net
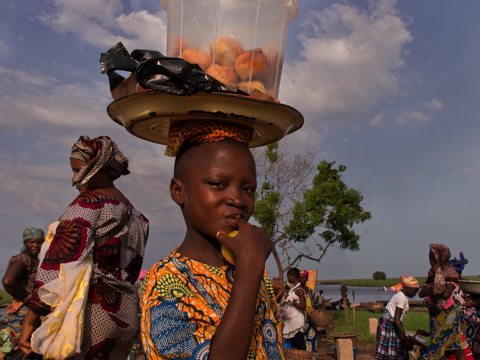
fishmarket near Ganvie, Benin
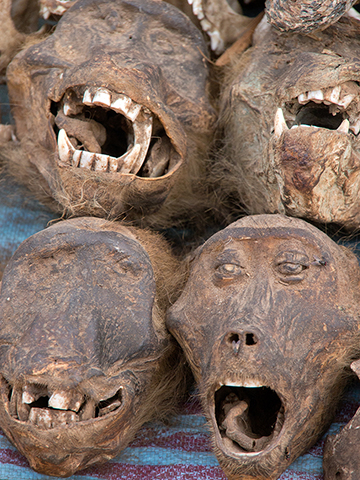
Monkey skulls at fetish market
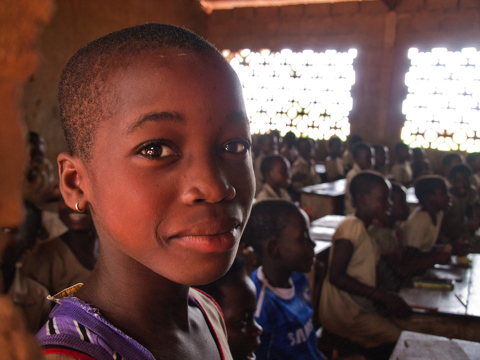
Student at Akato Viepe school, Togo
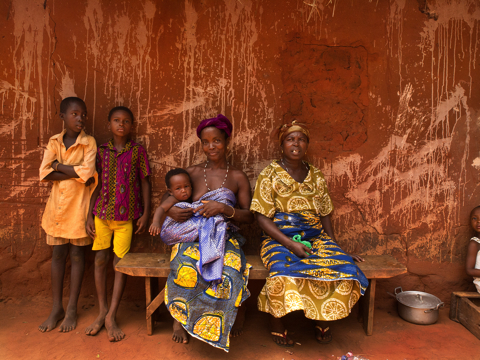
Villagers in Akato Viepe Village, Togo
This adventure continues at a rapid pace: today we were in Togo; yesterday it was the Western Coast of Africa country of Benin. Both were incredible visual opportunities, with the abundance of visits to great places we were provided.
Benin, once known as Dahomey, is on the Gulf of Guinea, and our stop was at the capital city of Cotonou. A chance to meet a local voodoo leader and his contingent provided some nice images.
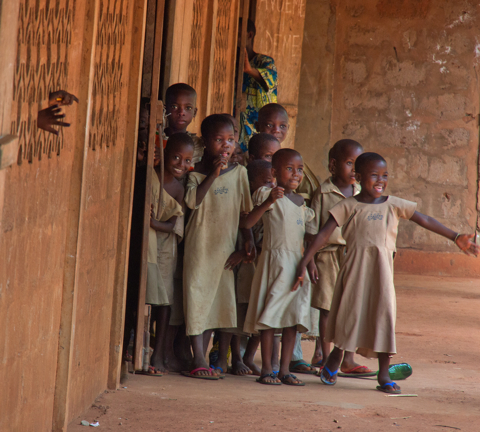
Togo was another full day, starting with a visit to a rural school. The light inside the school was filtered from large, grated openings on either side, creating warmth that was enhanced to a beautiful and overall sepia tone by the wooden desks and light-brown outfits of the school kids. The village of Akato Viepe was next, which included a ceremonial meeting of the king of that village. The day ended with our group heading to the local fetish market, a bizarre place of desiccated monkey skulls, dried chameleons, and a myriad of other dried animal parts. Considered the local “pharmacy” for traditional tonics and fetishes, this bizarre place provided a very interesting look into the animist belief of many Togolese.
Photographing in hard light
This trip has offered some incredible photographic opportunities, many of them in the mid-part of an equatorial light situation. In other words, very hard, harsh and often unflattering light. So what does the photographer do?
Try to move your subject into open shade if at all possible, and when photographing people, this form of lighting can not only save the shoot, but it can provide wonderful and soft light for portraits. I’ve included the photo of the group of villagers in front of the orange wall, shot in shade just barely off the sunburnt sand in the foreground. In fact, that sand provided a great “fill-in” light, providing the beautiful and warm light in the photo.
Use the hard light to your advantage The photo of the Gavinae fisherman with the net is a good example of using hard light to advantage. The net is in brilliant sun; he is almost a silhouette, just enough detail in his face to provide a little separation.
Shoot backlit and add fill flash or a reflector this allows you to balance foreground and subject in terms of equal lighting. I love working with reflectors as they provide the exact look and exposure you see. It can be brutally bright for the subject, so think of telling that person you’re photographing to close their eyes until you count to three, when they’ll open their eyes for a second..which may help in eliminating the squint of someone in that often-intense light of the reflector.
Or, use fill flash from the camera, exposing for the overall scene and adding flash to “fill” the subject. This takes some practice to make it work, but I’ve discussed this idea in earlier blogs-including using filters on the flash to make it more pleasing, underexposing the background slightly to force attention to the subject, and slightly underexposing the flash ( I think almost all camera manufacturers send their cameras out with the bias on flash set too bright)
Watch the background! It’s so easy to be so focused on the subject, that you are not seeing the blown out sky in the background, so be sure and let your eye check the edges of the frame to see if there is an area that is too bright. It may be able to eliminate that by a little move to either side, or moving the camera angle up or down. Remember, our eye goes to the brightest area in photo.
What the heck, come back at dusk! If I have the luxury of time, I’ll often use the middle part of the day to scout an area, checking where & when the sun will rise or set, and come back later or plan an early morning shoot. That “golden hour” can provide incredible light, and often in busy places you’ll find that you are too early for the crowds, or everyone is at dinner, leaving you to enjoy that wonderful shoot session in awesome light!


